
⭐ Selector Wheel 🛞
Sometimes you see yourself repeating the same task over and over again. Surely there's a way to simplify this process? Yep, Selector Wheel does exactly that thing - allows you to perform common tasks like a breeze! Selector Wheel is a JSON-driven mod, meaning you're going to add functionality to the mod yourself. It's also completely client-side, so you can use it on literally any server out there. Just don't get spammy with commands!
🔧 Usage ⚙️
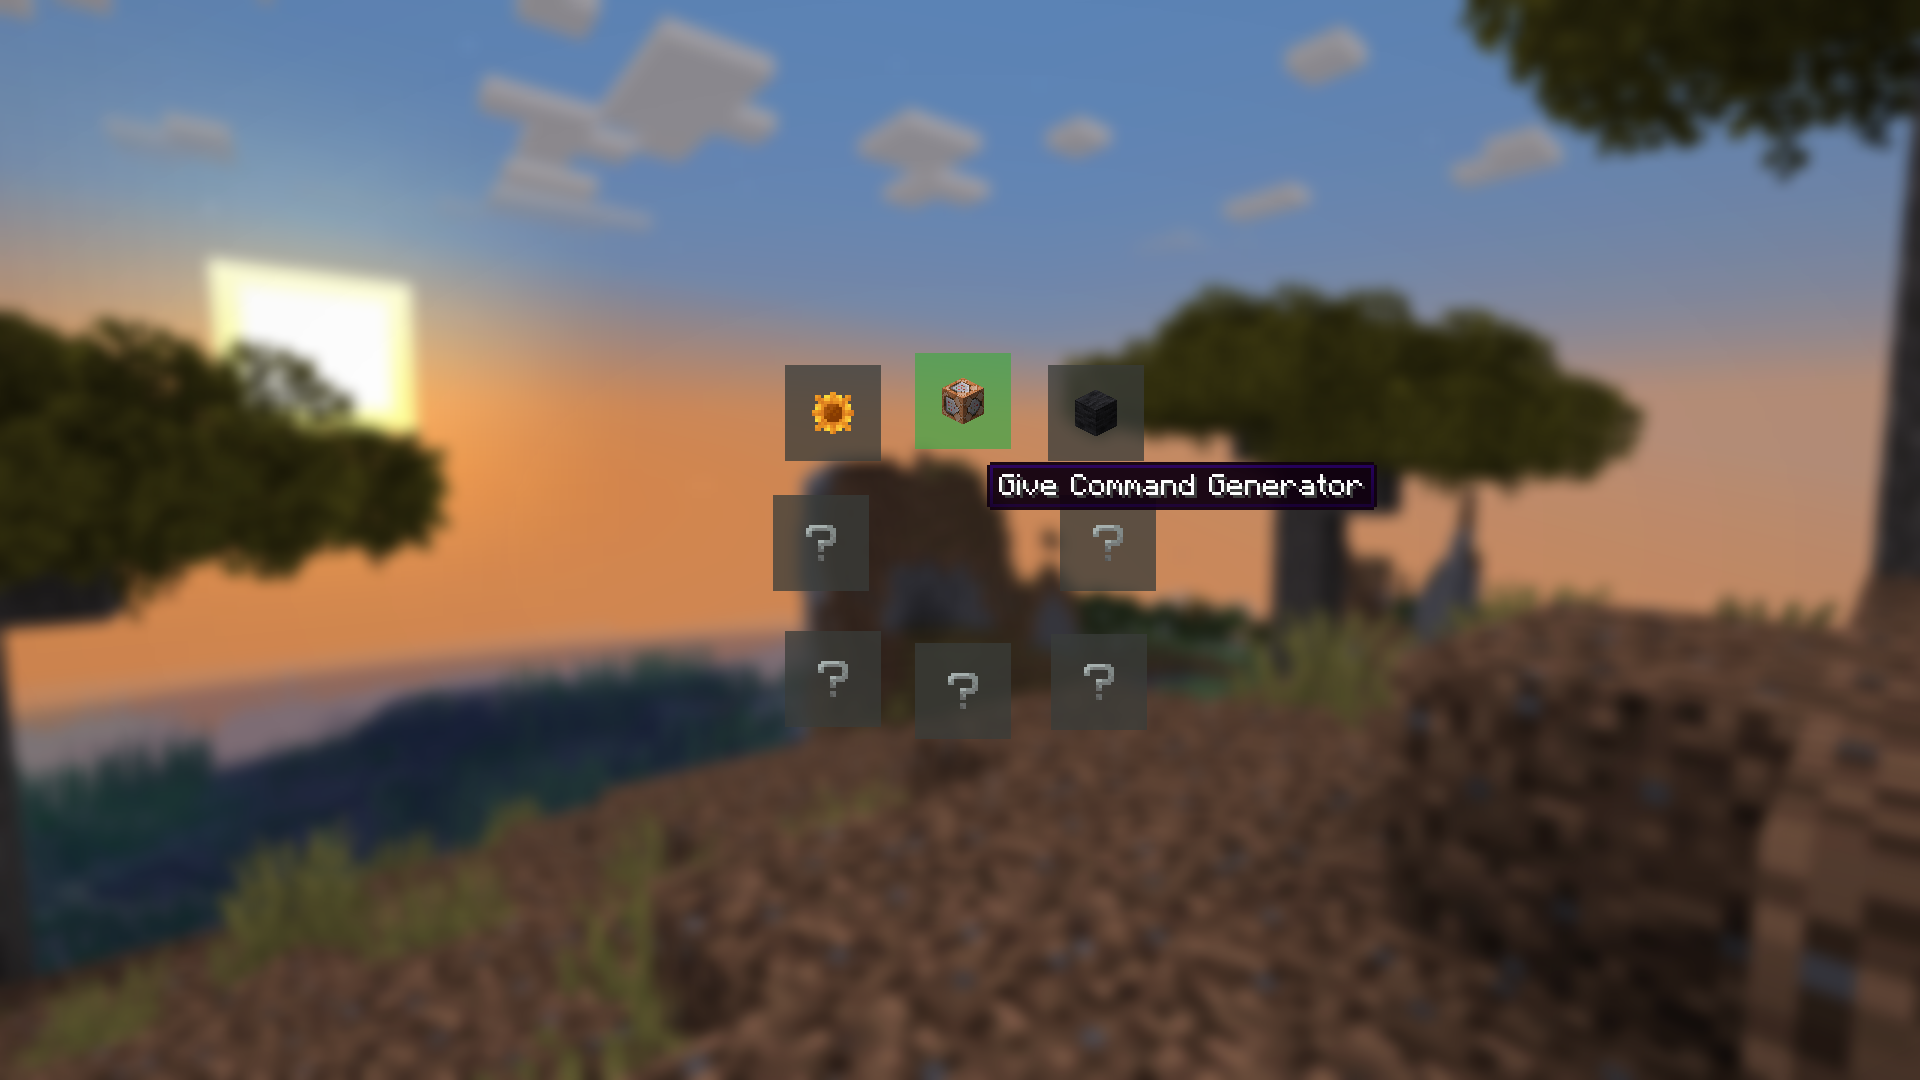
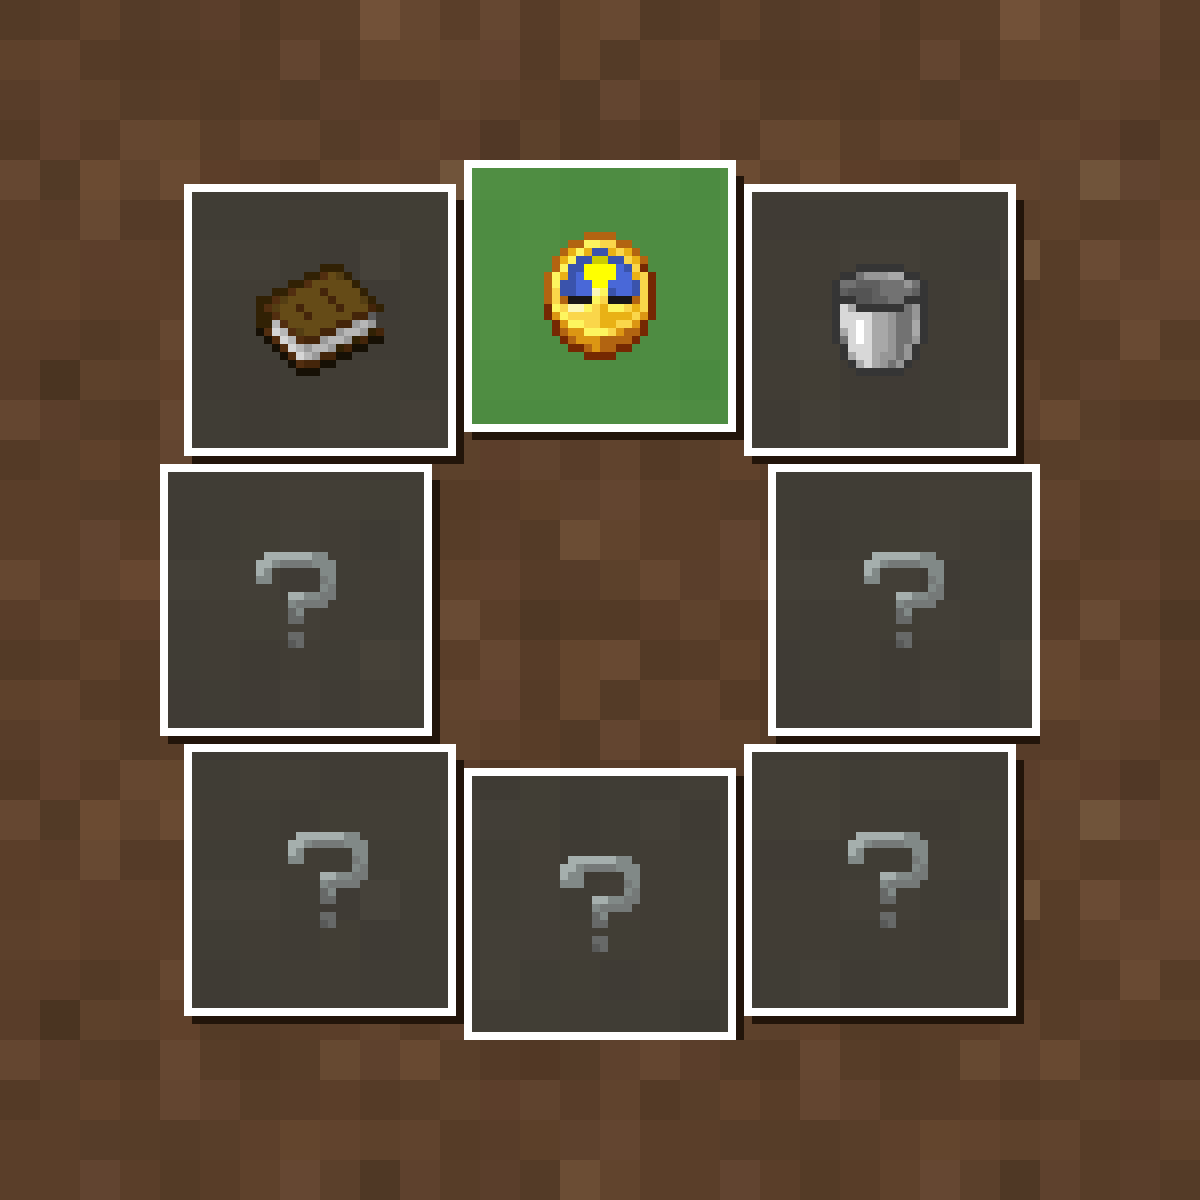
Before we learn how to create a custom widget, let's quickly go through what Selector Wheel offers right from the box. Pressing [Z] (by default) will open up a wheel-like menu with 8 buttons - Widgets. Those widgets are loaded directly from the widgets folder inside your .minecraft directory. If you open the menu while holding [CTRL], it'll reload all the widgets, meaning it's a quick way to hot-swap loaded widgets with the new ones.
So, what are those "Widgets"? Widgets allow you to perform different tasks in a few clicks. Creating one is simpler than you may think - Well, because I'm here to guide you through the process of creating one! Without further ado, let's break down those JSON files.
💡 Widget is a ".json" file in your
widgetsfolder. You can access it quickly by pressing [WIN] + [R] and typing:%AppData%\.minecraft\widgets.
{
  "title": "Comfort Mode",
  "preview": "minecraft:sunflower",
  "actions": [
    {
      "type": "command",
      "value": "weather clear"
    }
  ]
}
Let's take a look at the simple widget above. The "title" field represents the text you'll see when hovering over the widget in-game. It can be either a string, like in this case, or a text-like object. Such as:
"title": {
    "text": "Comfort Mode",
    "color": "gray"
}
The "preview" field represents the item that you'll see in-game. It's a sunflower in this case, but you can also add some NBT to it by converting it into an object:
"preview": {
    "item": "minecraft:sunflower",
    "nbt": "{CustomModelData:1b}"
}
And now we're moving on to the main part of the widget, its click actions. Actions are tasks that will be performed once you click the widget. The "actions" field represents an array of actions. An action always consists of a "type" and a "value" fields. Type represents the type of the action (obviously), it's "command" in this case, but we'll talk about other ones later on. The "value" field represents the value parsed to the action. For example, in the context of the "command" type, it's the command that will be executed.
So, what other types of actions are there?
» "URL": opens up the specified URL. URL must contain a valid scheme (either "http" or "https"), here's an example:
{
    "type": "url",
    "value": "https://modrinth.com/mod/selectorwheel/versions"
}
» "suggest": suggests the specified string in the chat.
{
   "type": "suggest",
   "value": "/msg Notch "
}
» "clipboard": copies the specified string into your clipboard.
{
   "type": "clipboard",
   "value": "Village: 798 102 340"
}
But wait, that's not all! There's also one optional field called "server". What it does is it only loads this widget when you're on the specified server. For example, you might create the following widget for PvpLegacy:
{
  "title": {
    "text": "Duel someone",
    "color": "gray"
  },
  "server": "pvplegacy.net",
  "preview": "minecraft:iron_sword",
  "actions": [
    {
      "type": "suggest",
      "value": "/duel "
    }
  ]
}
Links
Featured versions
See allProject members
Manchick
Member