
Compatibility
Minecraft: Java Edition
Platforms
Supported environments


Tags
Creators
Details
Geodesy



Small Fabric mod for calculating amethyst farm flying machine layout. Inspired by the original ilmango's video and the flying machine based farm made by neffty87.
Usage
You should only run this in disposable worlds, either in single player or on servers where you have op. Command blocks must also be enabled.
The mod will destroy the immediate surroundings of the geode!
Video Tutorial by ilmango
Step 1: Geode
Run /geodesy without any arguments to acquire The Unholy Book of Geodesy,
as well as the set of blocks you will need to build the farm.
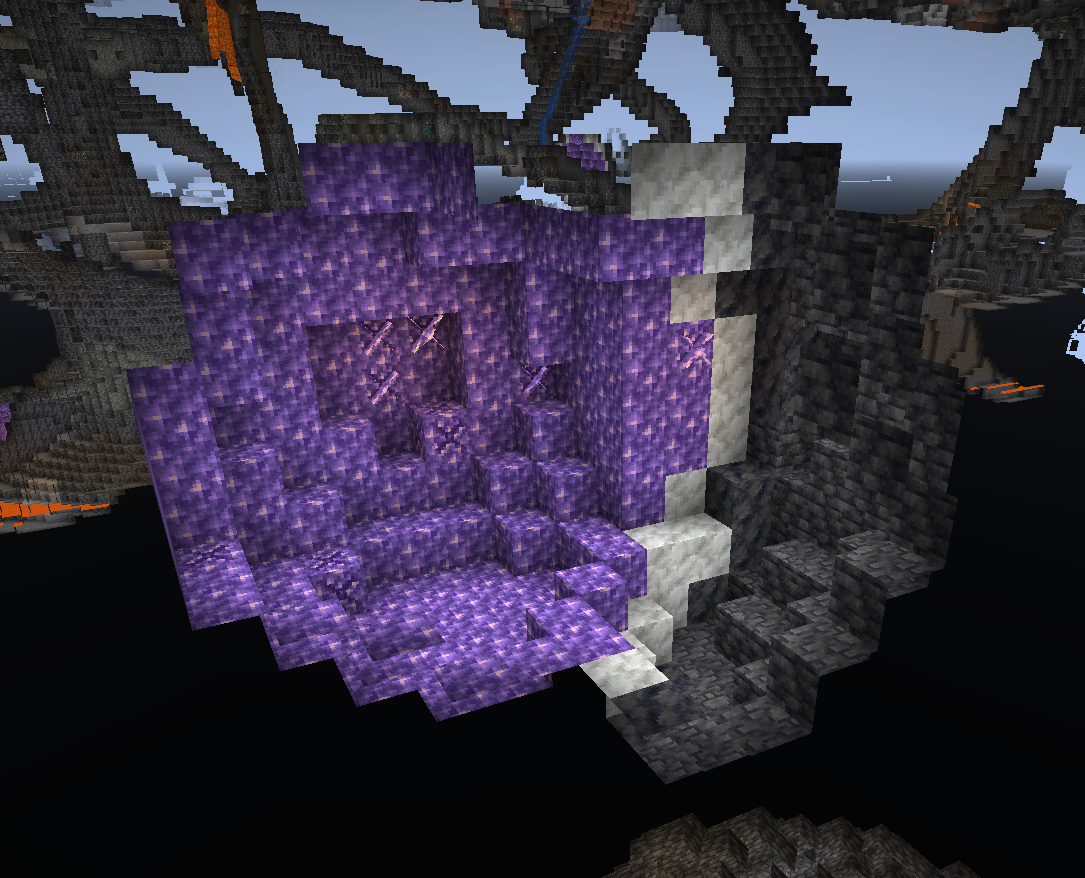
Scout out a nice geode. For our tutorial this small one will do.
Note: this method of amethyst farming tends to struggle with very large geodes, because of how many collisions they usually cause. Small to medium sized ones work best.
Step 2: Area
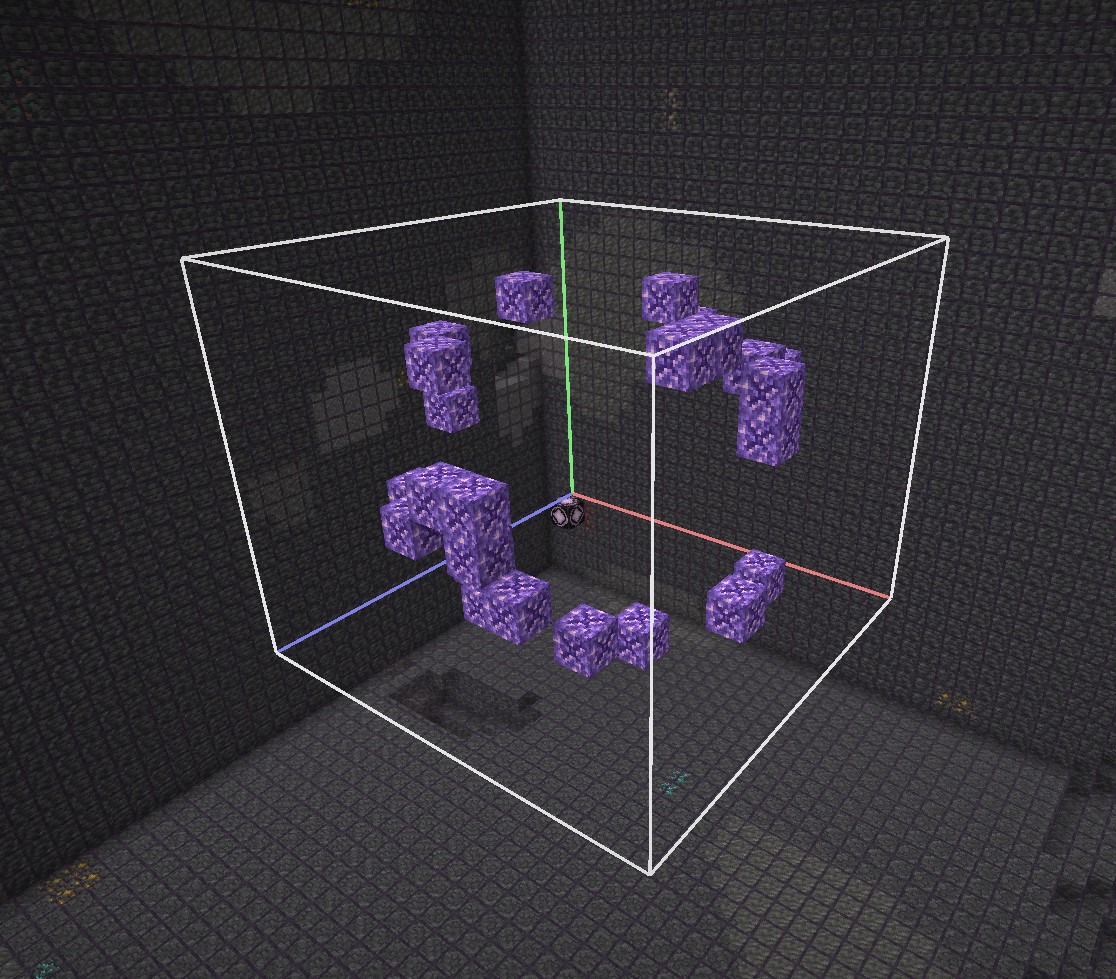
Run /geodesy area (first corner) (second corner) to clear out the surrounding
area of any junk and calculate the geode area. The geode will be highlighted for you
to verify you've entered correct coordinates.
You don't have to be exact with the corner coordinates - you can select a larger volume and the mod will find the geode anyway. The only time you have to be careful is when you have two geodes very close to each other (this is also the reason we don't have autodetection - it easily got confused with multiple geodes nearby).
Here I run /geodesy area 701 -24 -945 712 -15 -934:
Step 3: Analyze
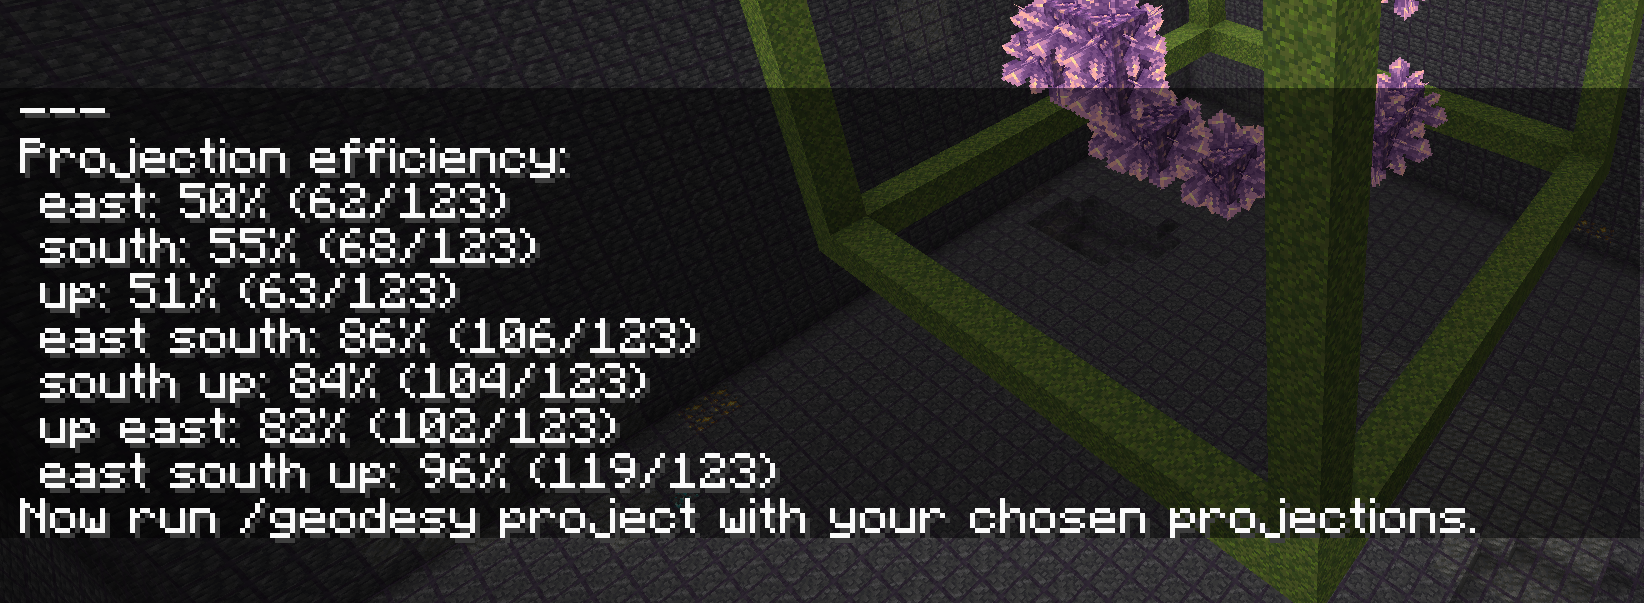
Run /geodesy analyze to perform combinations of projections on all axes and calculate
their efficiency. While the best possible efficiency is achieved by running the flying
machines on all three axes, sometimes just two are good enough. The exact numbers vary
depending on the specific geode layout.
Here I run /geodesy analyze:
Step 4: Project
Run /geodesy project (directions) to project the geode onto three planes and create
the farm structure:
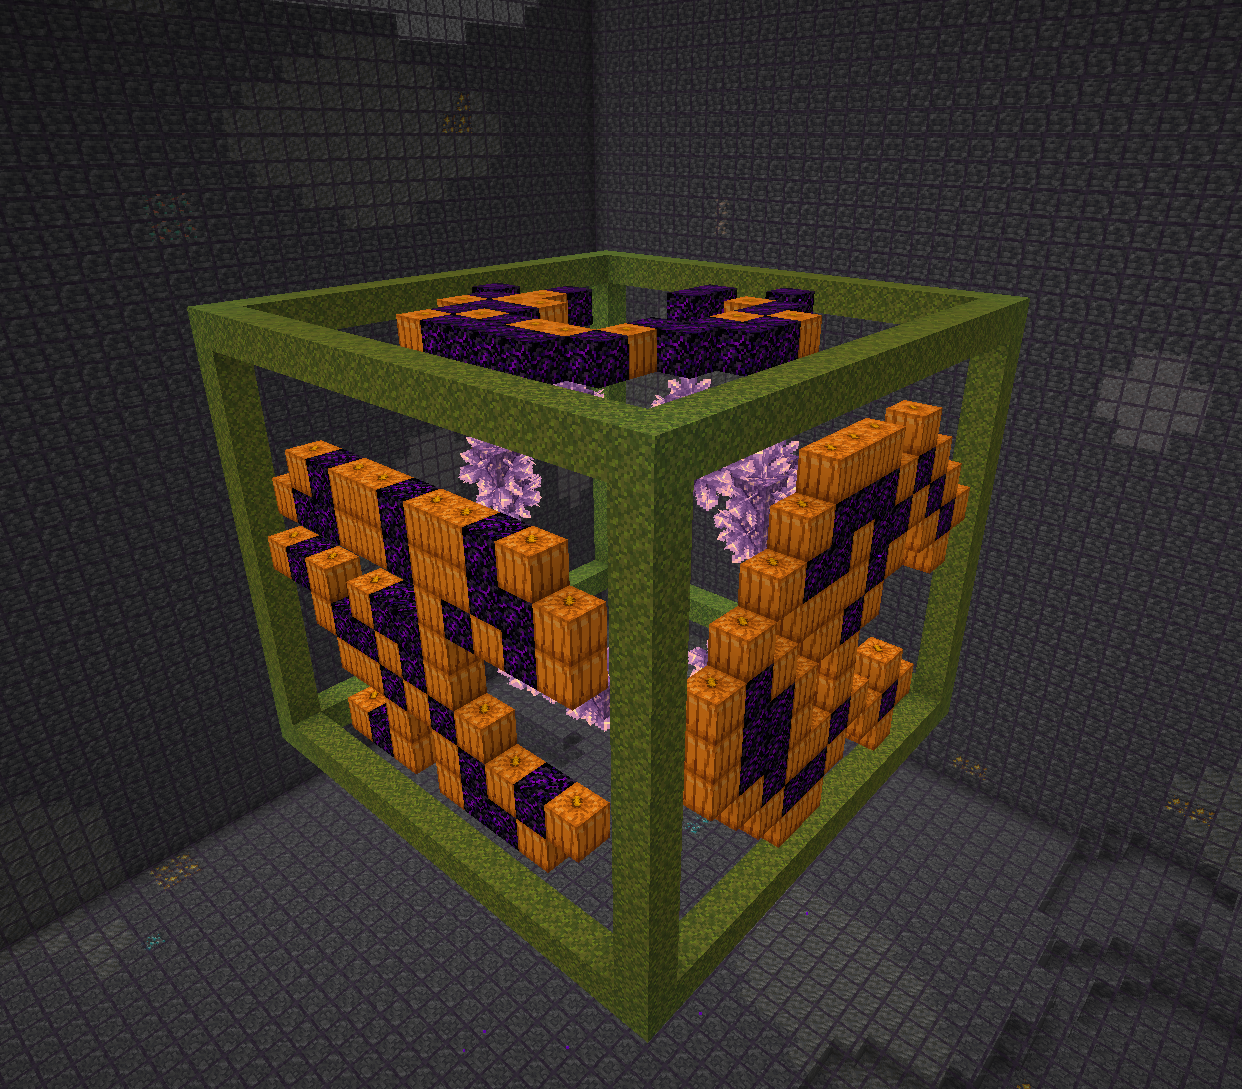
- Pumpkin means this location contains amethyst clusters to be pushed and destroyed.
- Crying obsidian block means this location contains budding amethyst blocks, so the flying machine must not fly through that location.
- Moss marks the outer frame of the machine.
- Buttons inside the farm mark spots that can't be harvested; you should have those buttons in the farm to prevent items from landing on unharvested amethyst clusters.
You can change the directions in three different aspects, without influencing the efficiency of the farm:
- You can change east/west and north/south to change the direction - this is useful when you have other geodes nearby and you don't want to collide with them. Technically you can also change up/down but that will make item collection pretty weird.
- You can choose to only include one or two directions instead of the usual three. This will lower the farm's efficiency but can also mean much less work to do.
- You can change the order of the directions to influence the shapes of the pumpkin formations. Some formations are easier to cover with sticky blocks than other. Experiment to find out.
Here I run /geodesy project east south up:
Steps 5-6: Solve (Automatic Alternative)
Run /geodesy solve to automatically calculate optimal placement of slime and honey
blocks, as well as the mob head markers for flying machines. This step is optional -
you can still place them manually as described in Steps 6 and 7.
The solver uses a backtracking algorithm to find "islands" (connected groups of sticky blocks) that maximize coverage of pumpkin blocks while respecting constraints:
- Each island must be 4-12 blocks in size
- Each island must contain an L-shape (required for flying machine mechanics)
- Adjacent islands use alternating materials (slime vs honey) to prevent sticking
- Islands cannot overlap or cover crying obsidian (blocked) cells
The command accepts optional parameters:
/geodesy solve- Use default settings (cost of 1.0, 5 second timeout)/geodesy solve (cost)- Set cost threshold (1.0-12.0)/geodesy solve (cost) (timeout)- Set cost threshold and timeout in seconds (1-300)
The cost parameter controls the tradeoff between coverage and number of flying machines:
- Lower cost (e.g. 1.0): More islands/machines, higher harvest coverage
- Higher cost (e.g. 4.0): Fewer islands/machines, may sacrifice some coverage
The solver scores solutions as: harvest_cells_covered - (island_count × cost)
After solving, slime/honey blocks are placed one layer outside the wall, and mob head markers (3 zombie heads + 1 wither skeleton skull in an L-shape) are placed for each island.
You can re-run /geodesy solve with different parameters - the previous solution will
be cleared automatically.
Step 5: Sticky blocks (Manual Alternative)
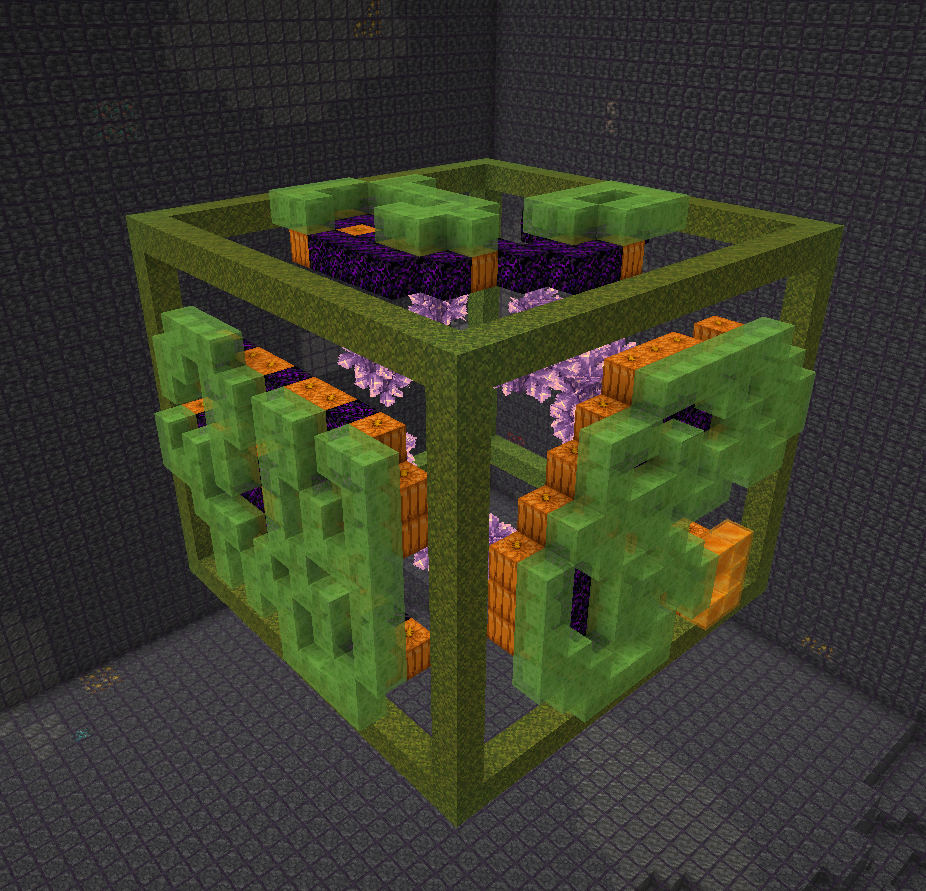
If you prefer manual placement or want to adjust the solver's output, place slime and honey blocks outside the structure, as shown by ilmango in the video. All pumpkin blocks should be covered; no crying obsidian blocks should be covered. If you can't cover all pumpkin blocks, the efficiency of the farm will be slightly reduced.
Step 6: Marker blocks (Manual Alternative)
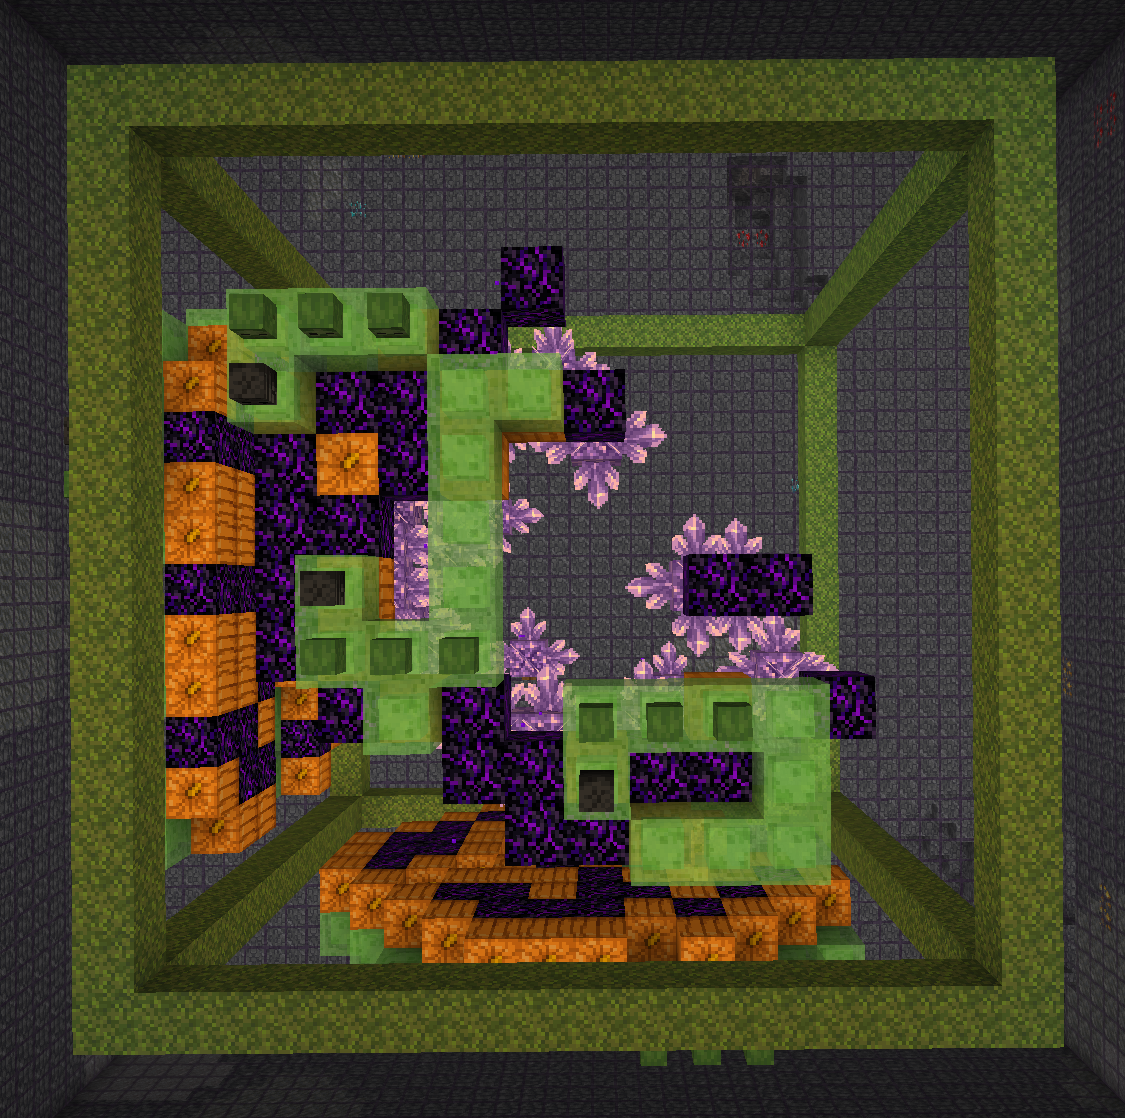
If you skipped the solve step or want to adjust markers, use mob heads to indicate where the flying machines should go. Black mob head (wither skeleton skull) marks a blocker obsidian block, three green mob heads (zombie heads) indicate a flying machine.
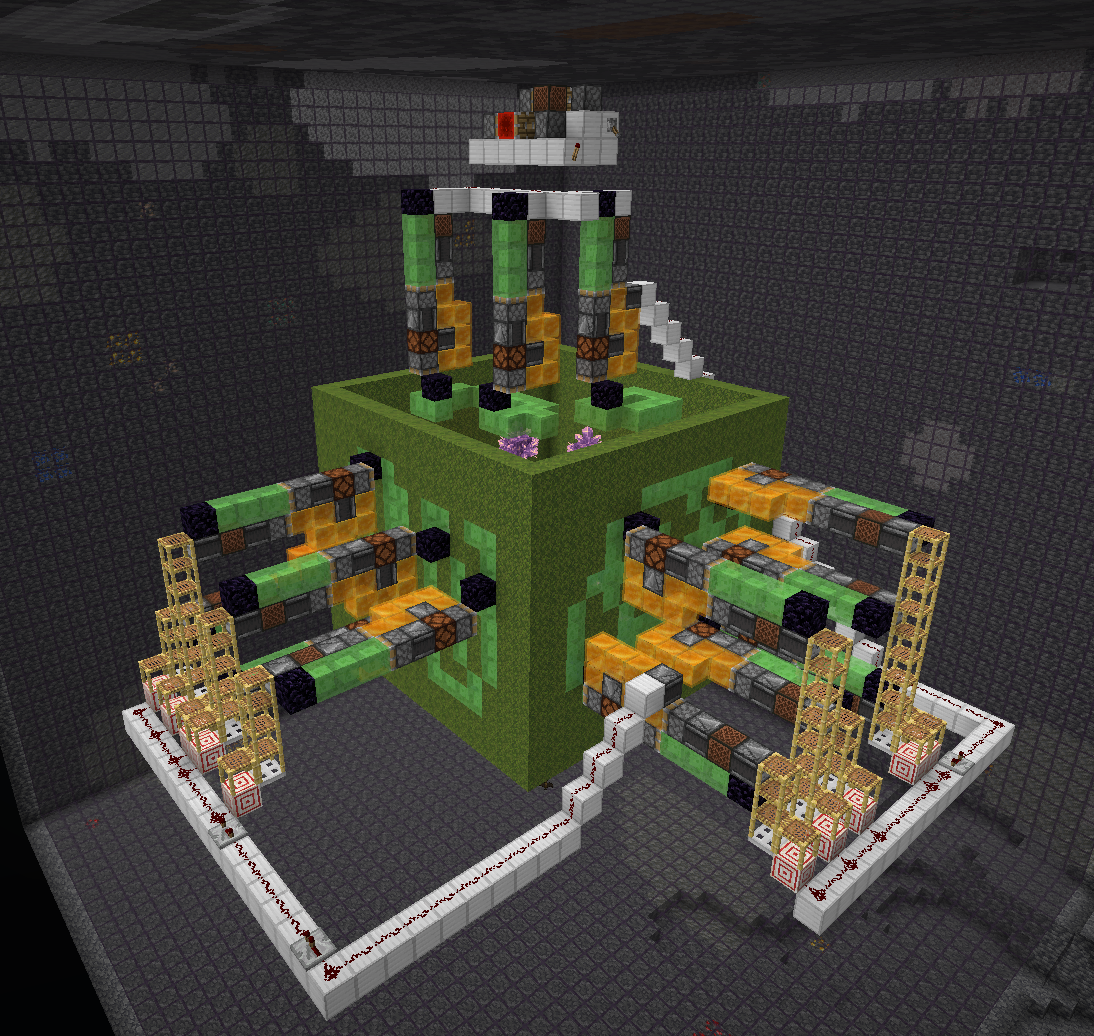
Step 7: Assemble
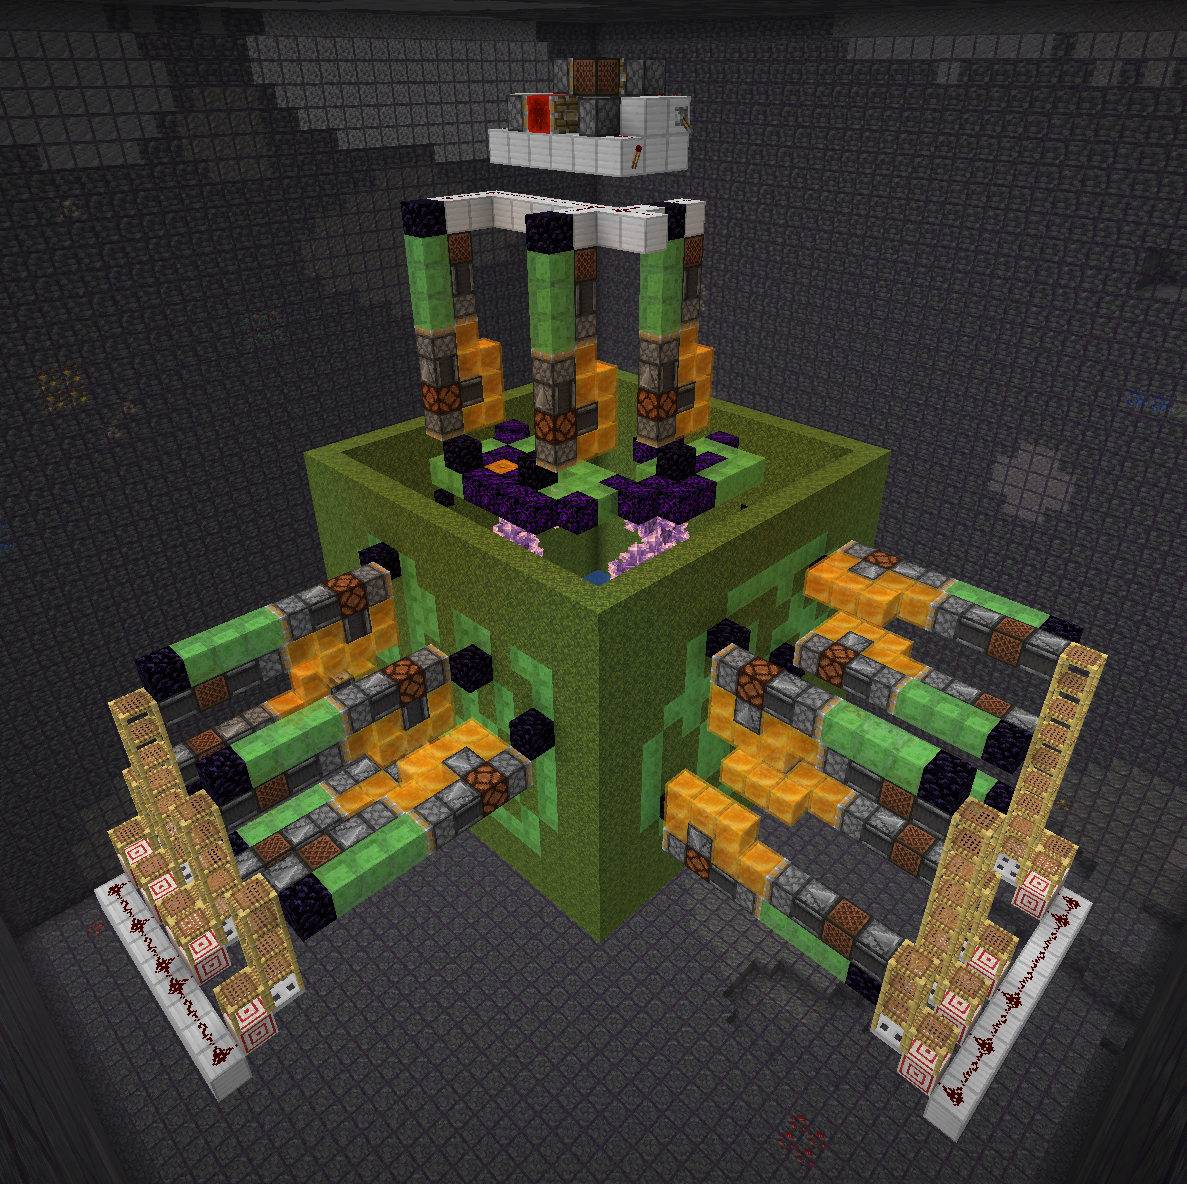
Run /geodesy assemble to "push" the sticky block structures inside the obsidian frame
and generate flying machines at locations that you marked. The redstone clock is also
generated for your convenience - just connect it.
Step 8: Wiring
The rest is up to you! Add trigger wiring and collection system. When adding repeaters to the trigger wiring, make sure to set them to maximum delay. Again, watch ilmango's video for more information.
Credits
- Kosma Moczek - mod concept + code
- ilmango - farm design + two great videos
- neffty87 - farm concept
Possible improvements?
For a list of things to do, see TODO.md.