![Background Template [Customize your own]](https://cdn.modrinth.com/data/geRM2T1S/3c0338f901e31a49dca5ad9166b9fc0b8a845752_96.webp)
Compatibility
Minecraft: Java Edition


Tags
Creators
Details

Introduction
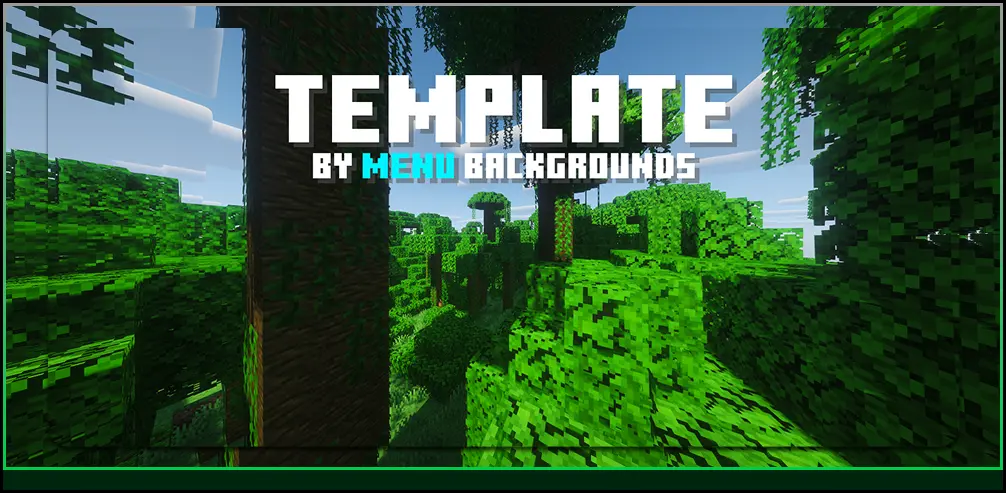
Menu Backgrounds replaces the regular Minecraft vanilla menu background with a alternative png image. This resrouce/texture pack does not change anything else except your background gui.
If you like what i do you can view my profile here or this organization to browse on more backgrounds.
Customize [Changing the image of the background to a custom image]
1 | Firstly, go into your file explorer and locate where ever the downloaded resource pack is.(usually in your downlaods)
2 | Right-click on the zipped flder and find "Extract all" and click on it and wait for it to extract.
3 | After, click on the unzipped folder which you have just extracted open it and go to [assets > minecraft > textures > gui > title > background]. You will see a panorama_overlay in the background folder.
4 | Choose a image of your choice to be the Minecraft menu background install it. Then, locate the image and rename it to panorama_overlay and make sure its end has a .png like this panorama_overlay.png or else it wont work.
5 | Drag or paste your image inside and then click on Replace the file in destination.
6 | Test the resource pack in game and have fun :D [If you do not know how to install a resource pack in your resource apck folder see the next section]
Installation [Installing the resource pack step by step]
1 | Firstly, install the resource pack. Make sure the resource pack is the same version as your Minecraft version.
2 | Next, go into your resourcepacks folder, you can locate it by pressing WIN + R and pasting this command.
%appdata%.minecraft\resourcepacks
3 | After, paste the resource pack you downloaded into the resourcepack folder you can do that by either copying and pasting or dragging it in.
4 | Lastly, you can launch Minecraft go to Options > Resource Packs and then choose the resource pack you want to use.