Compatibility
Minecraft: Java Edition


Tags
Creators
Details


Supported Version:

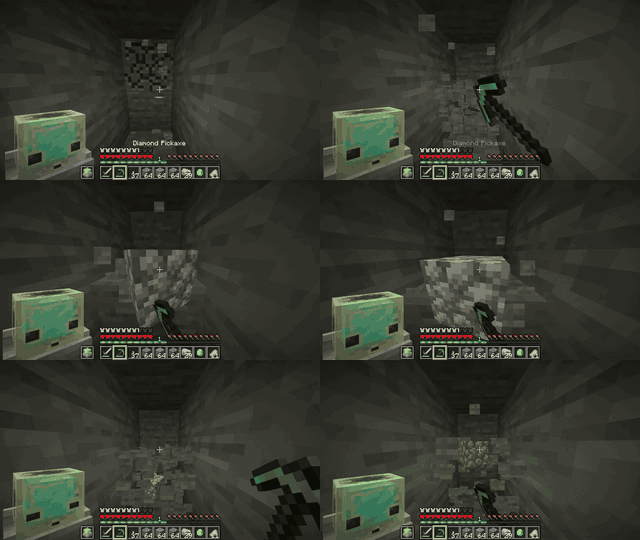 Ingame Footage |
|
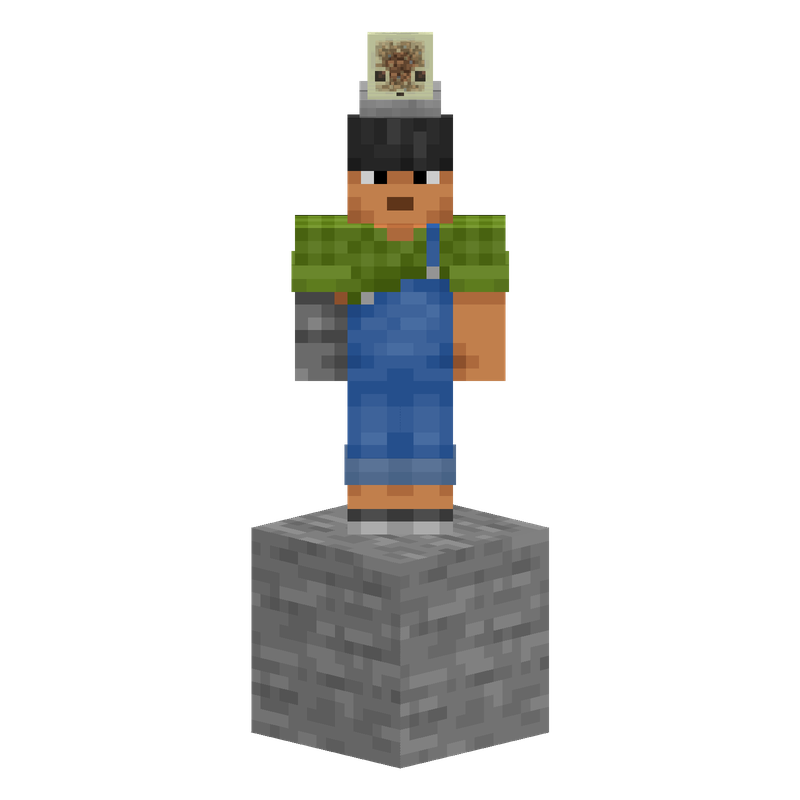 On Head* |
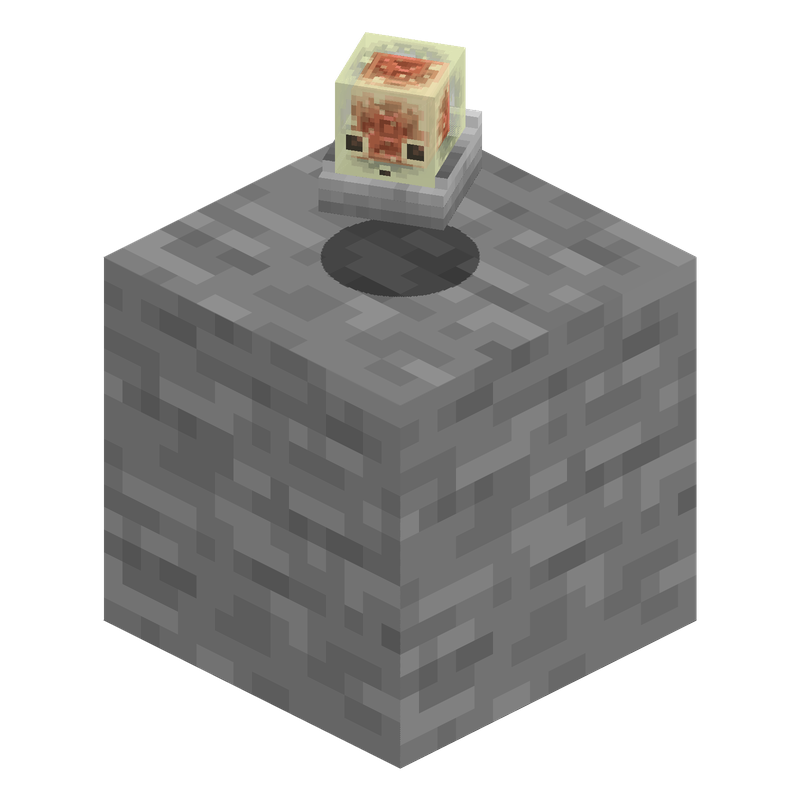 Dropped* |
Decide the Pack
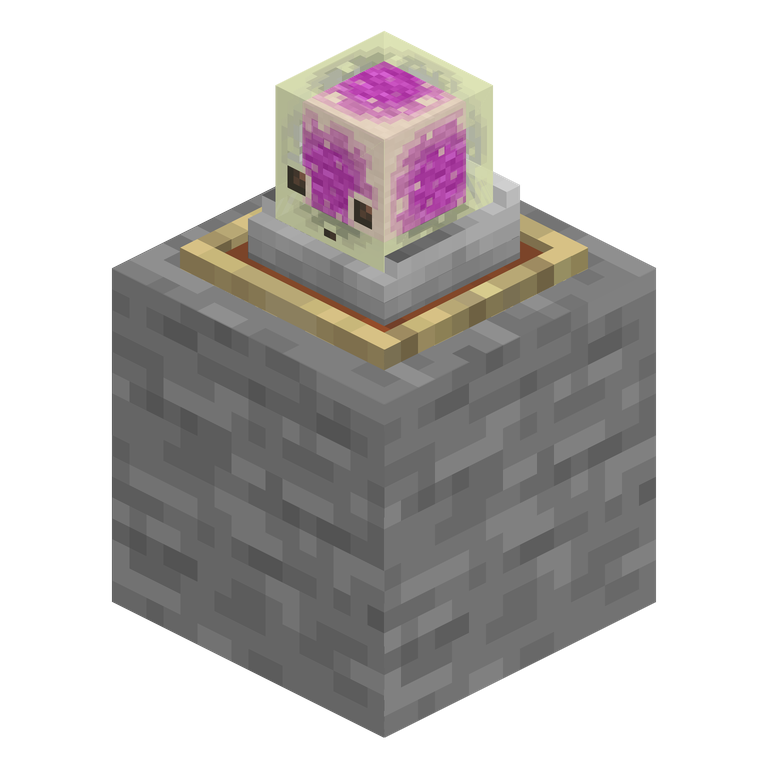 Floor: Default Pack* correct orientation |
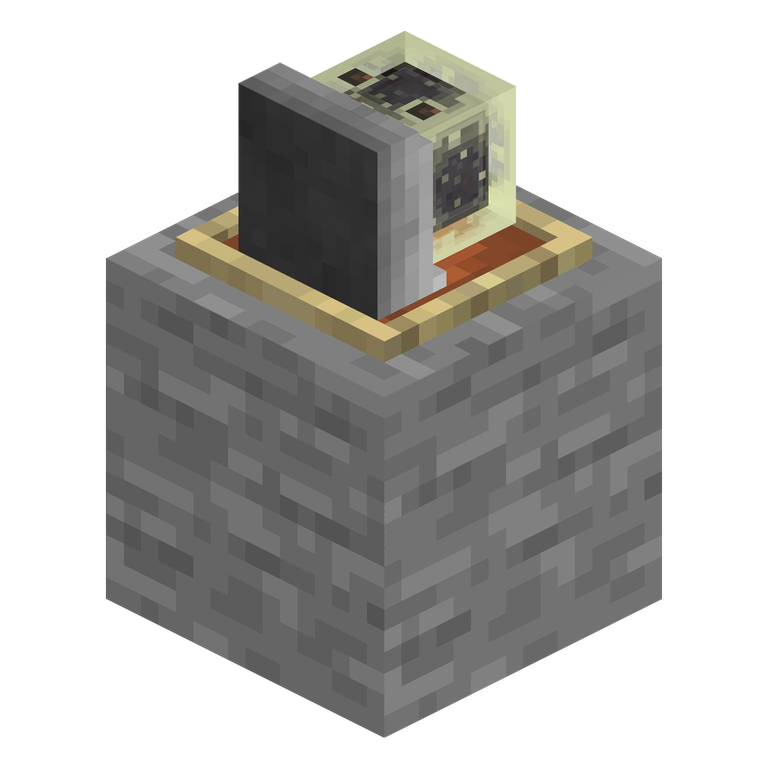 Floor: Wall Pack* wrong orientation |
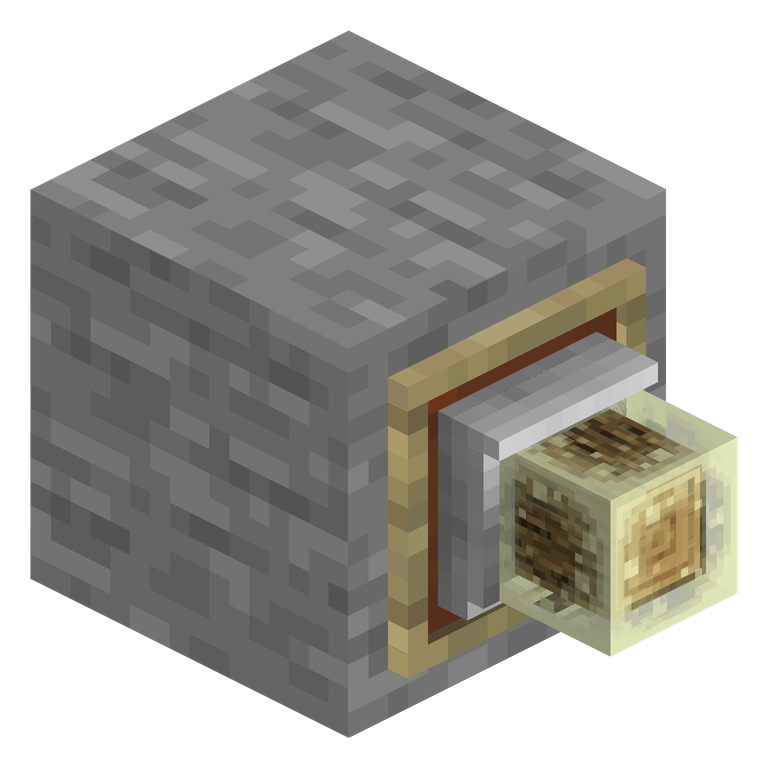 Wall: Default Pack* wrong orientation |
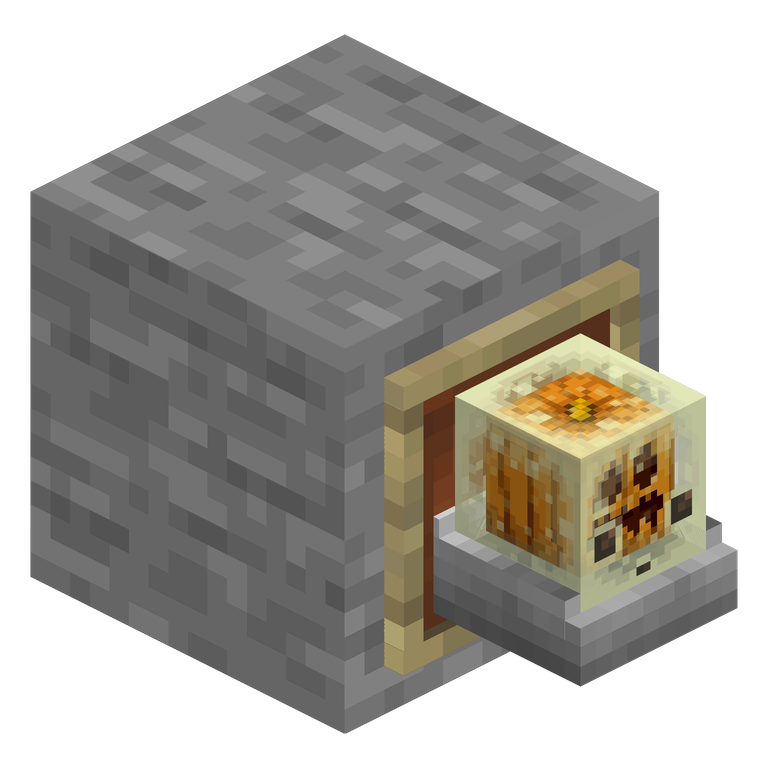 Wall: Wall Pack* correct orientation |
Why are there two resource packs?
Every item frame has a red arrow: this is the direction the item frame points away from the block. The model also has one chosen direction, shown with the red arrow in the pack renders.
Minecraft rotates the model so the model arrow lines up with the item frame arrow. The Default Pack is built with the arrow coming from below the cube, so it stands correctly on floor item frames. The Wall Pack is built with the arrow coming from the side of the cube, so it faces correctly on wall item frames. One pack cannot use both attachment directions at the same time, so both versions are included.
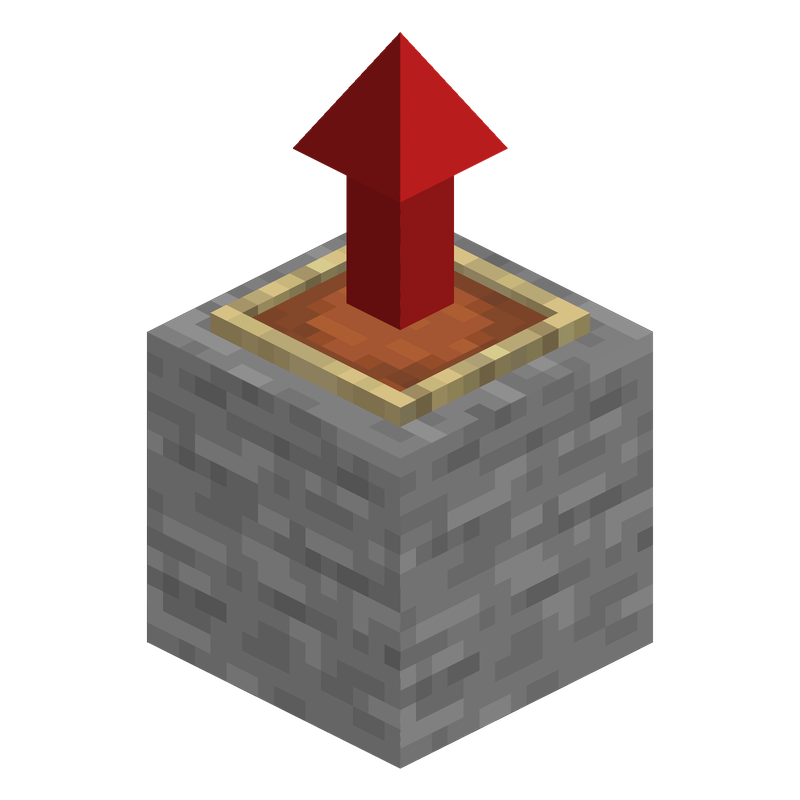 Floor Frame* |
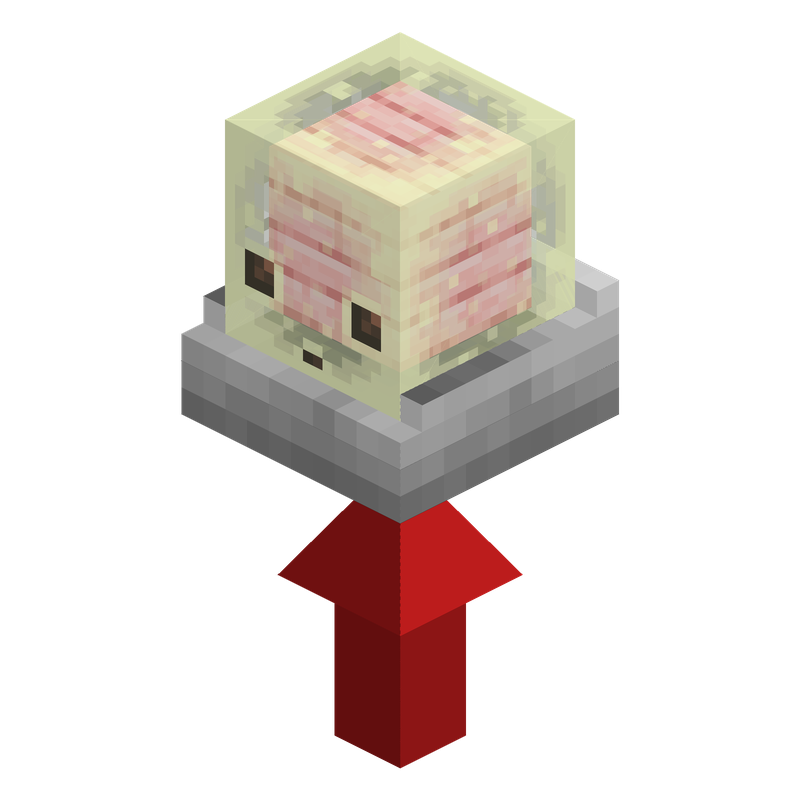 Default Pack* |
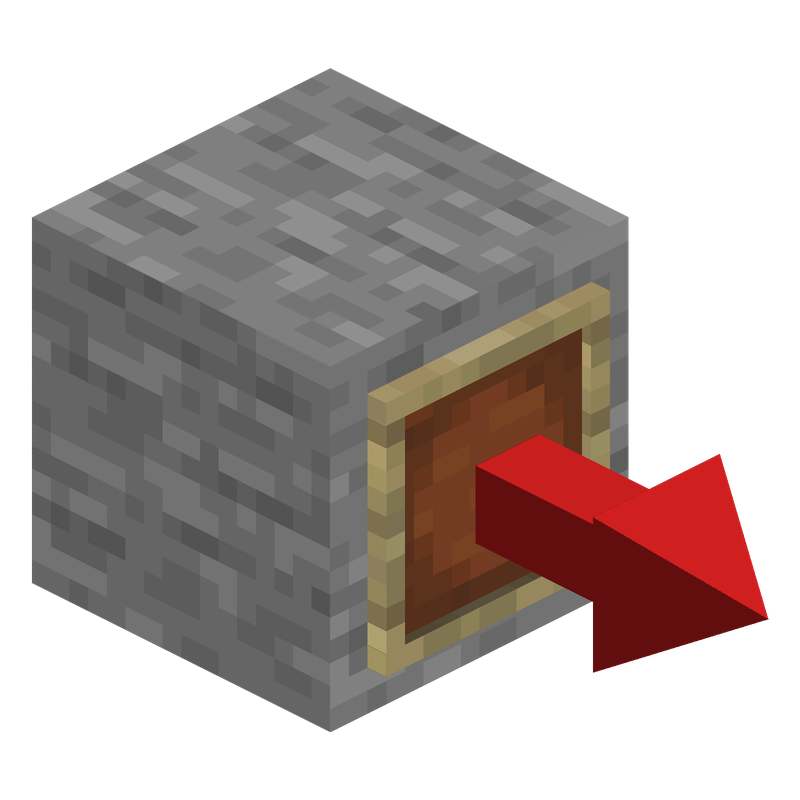 Wall Frame* |
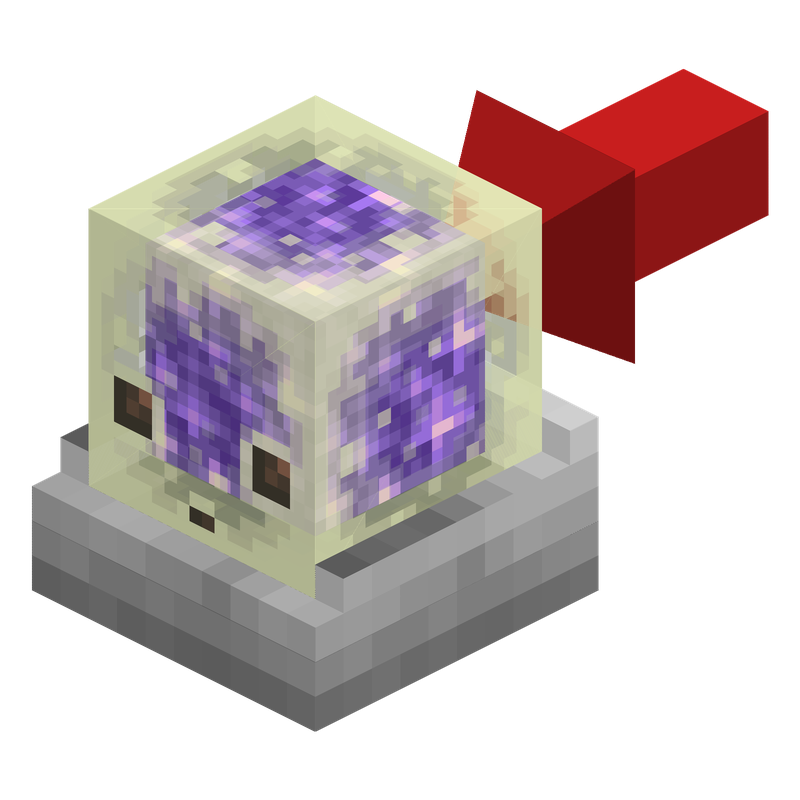 Wall Pack* |
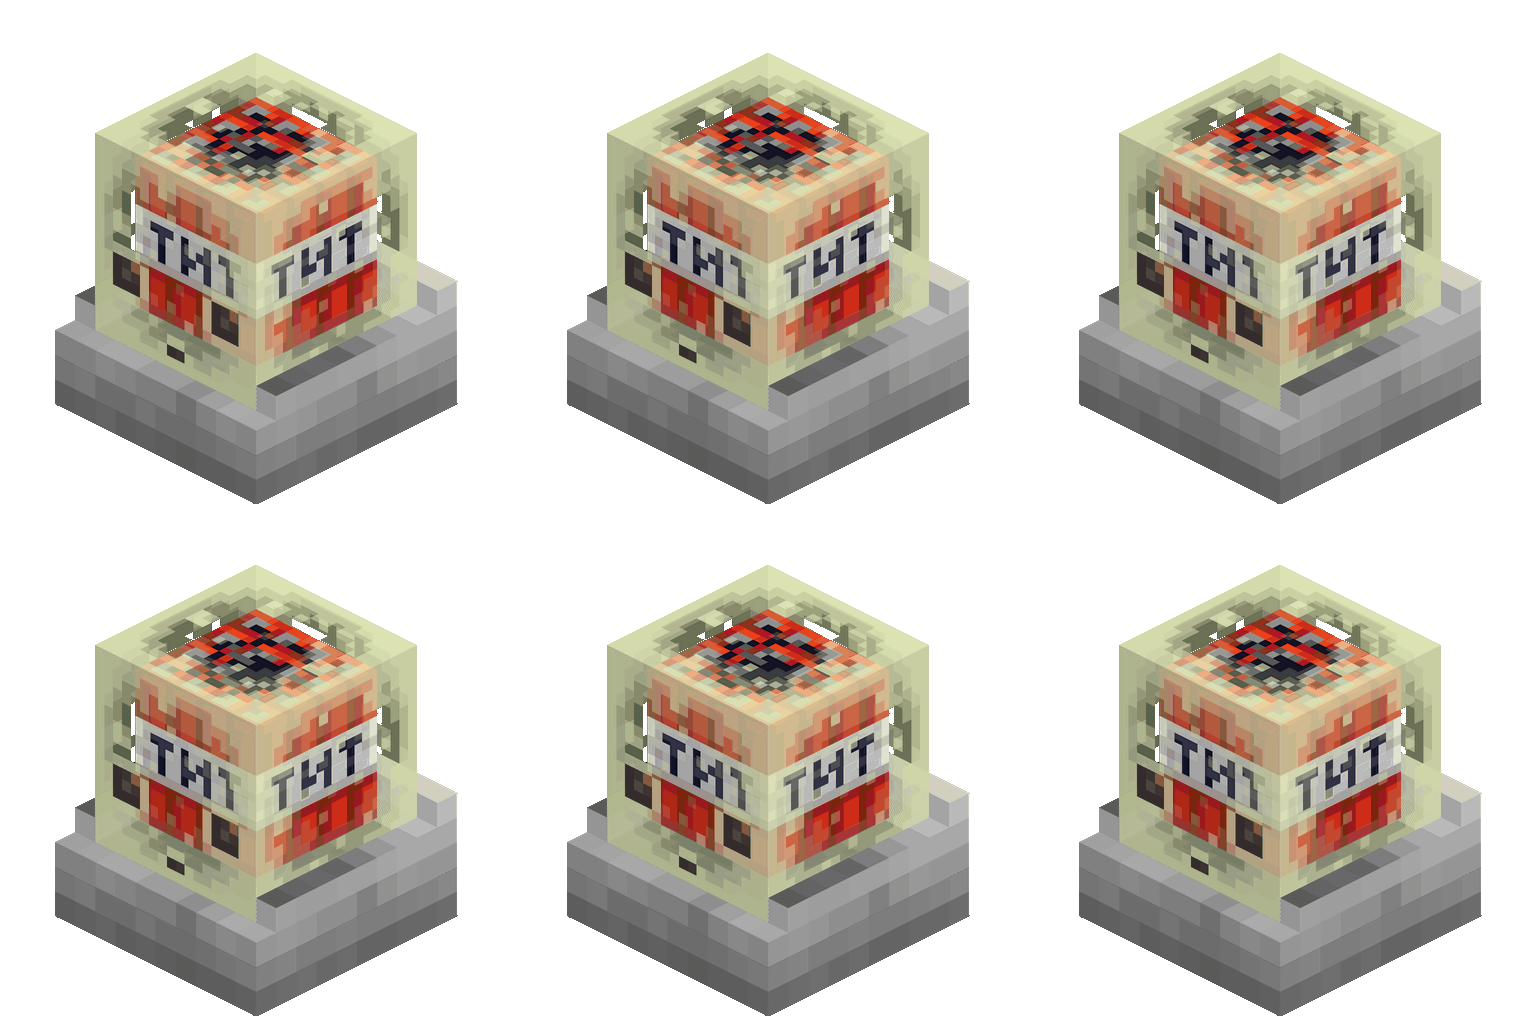
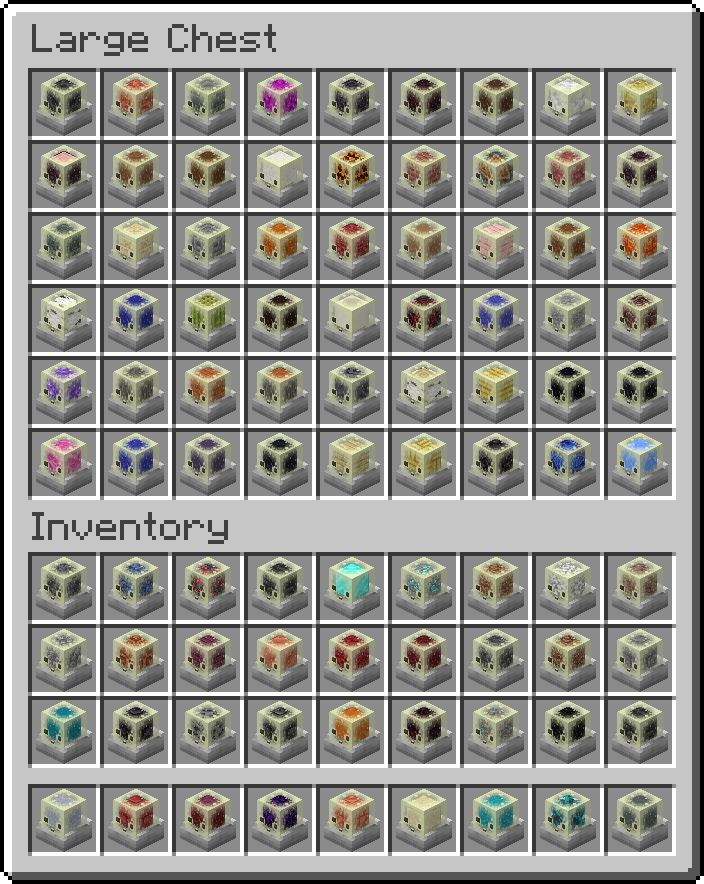
* All images except the ingame footage and chest screenshot are renders.
Useful Commands
Invisible item frame
/give @p item_frame[entity_data={id:"minecraft:item_frame",Invisible:true}]
Glowing invisible item frame
/give @p glow_item_frame[entity_data={id:"minecraft:glow_item_frame",Invisible:true}]
Wear a cube on your head
/item replace entity @s armor.head with minecraft:sulfur_cube_bucket[sulfur_cube_content={id:"minecraft:tnt"}]