
Compatibility
Minecraft: Java Edition


Tags
Creators
Details
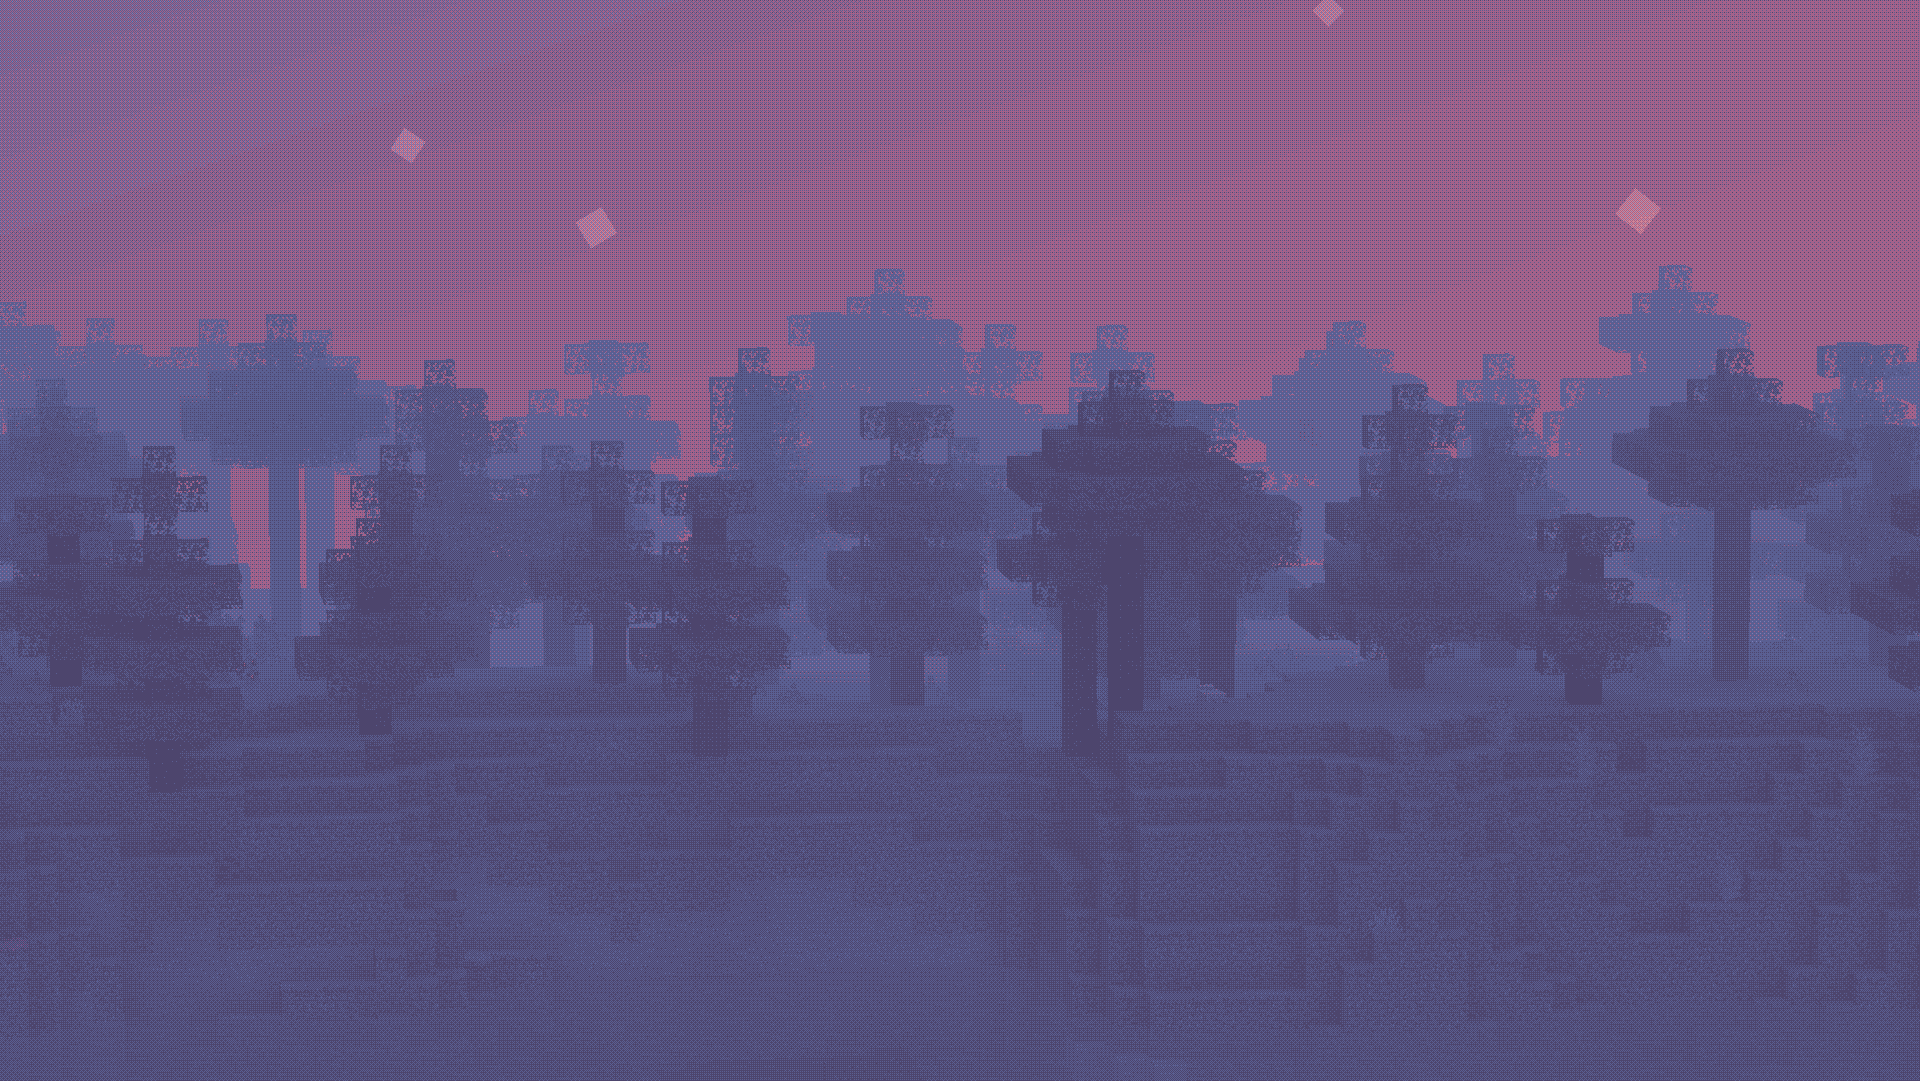
Showcase
This image was taken using a monochromatic color palette on color mode 0 (Closest Luminance)
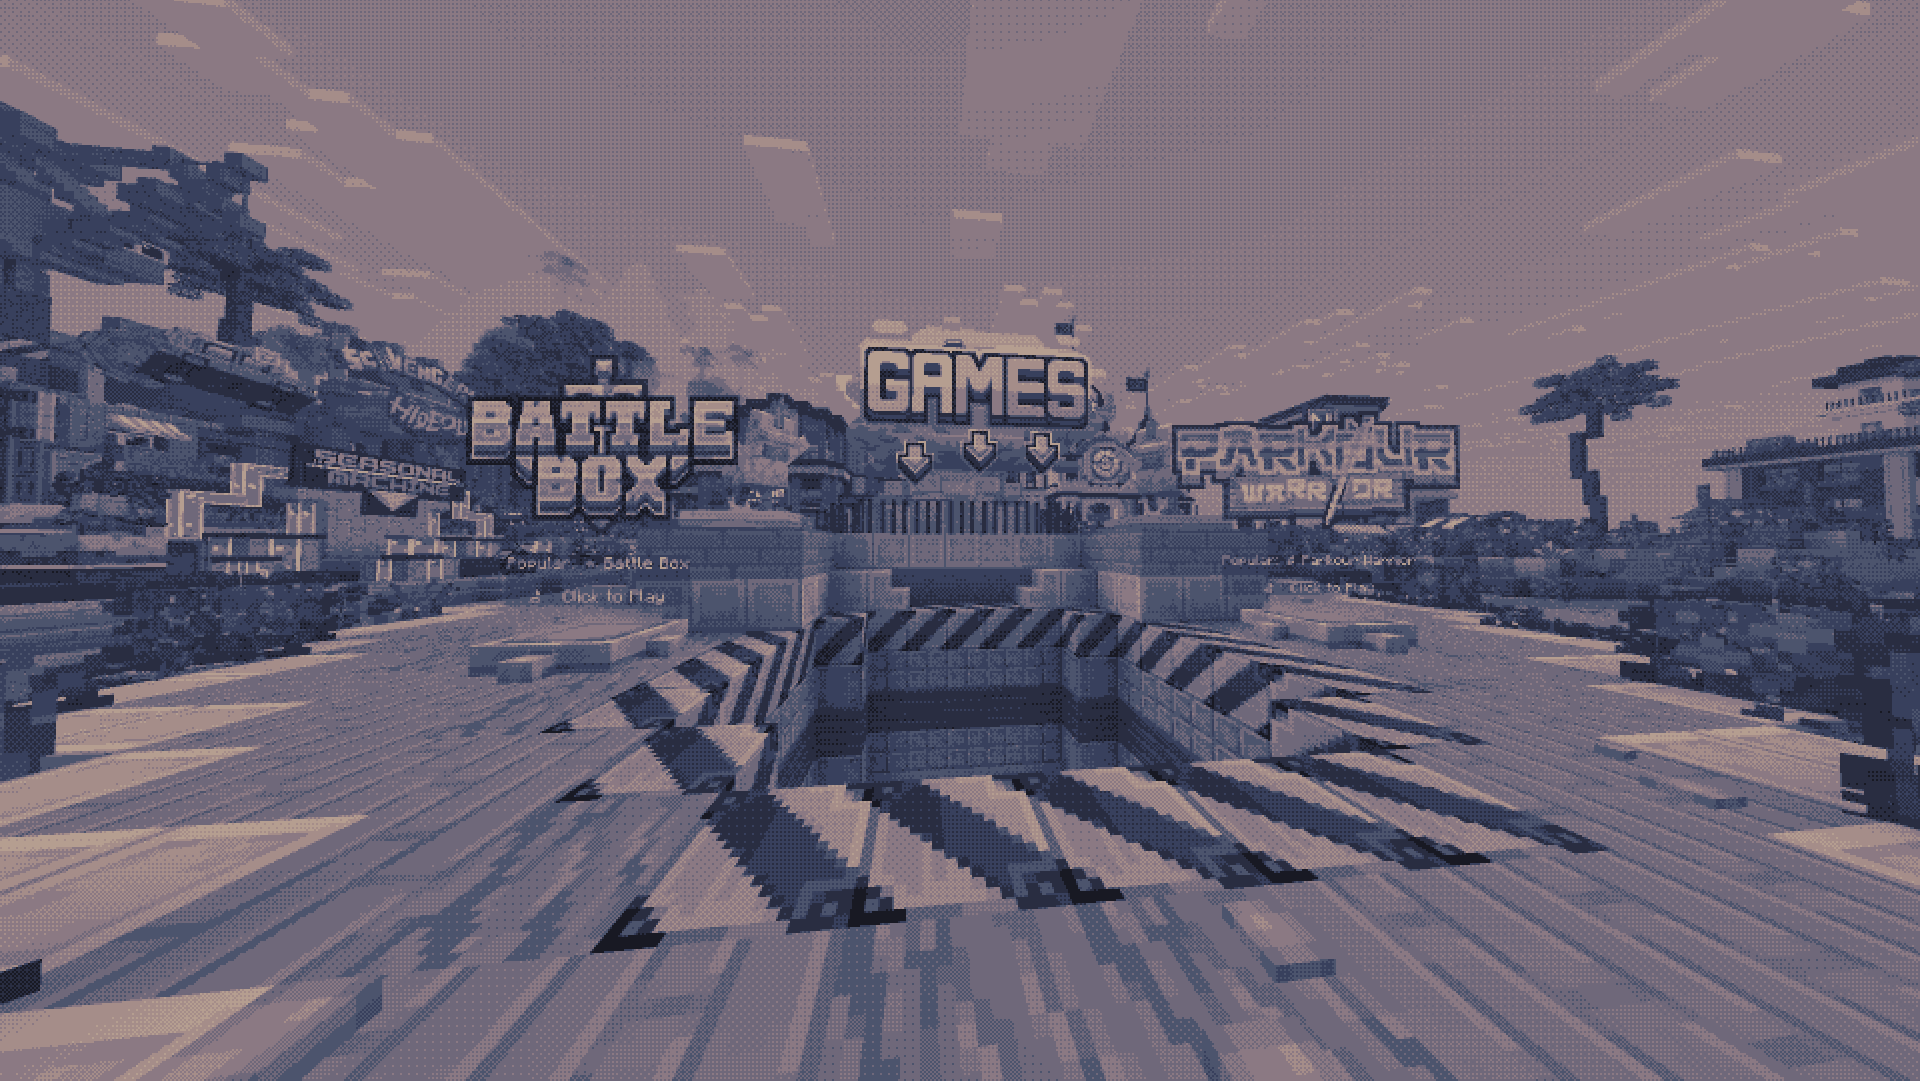
This image was taken using a polychromatic color palette on color mode 1 (Closest Color)
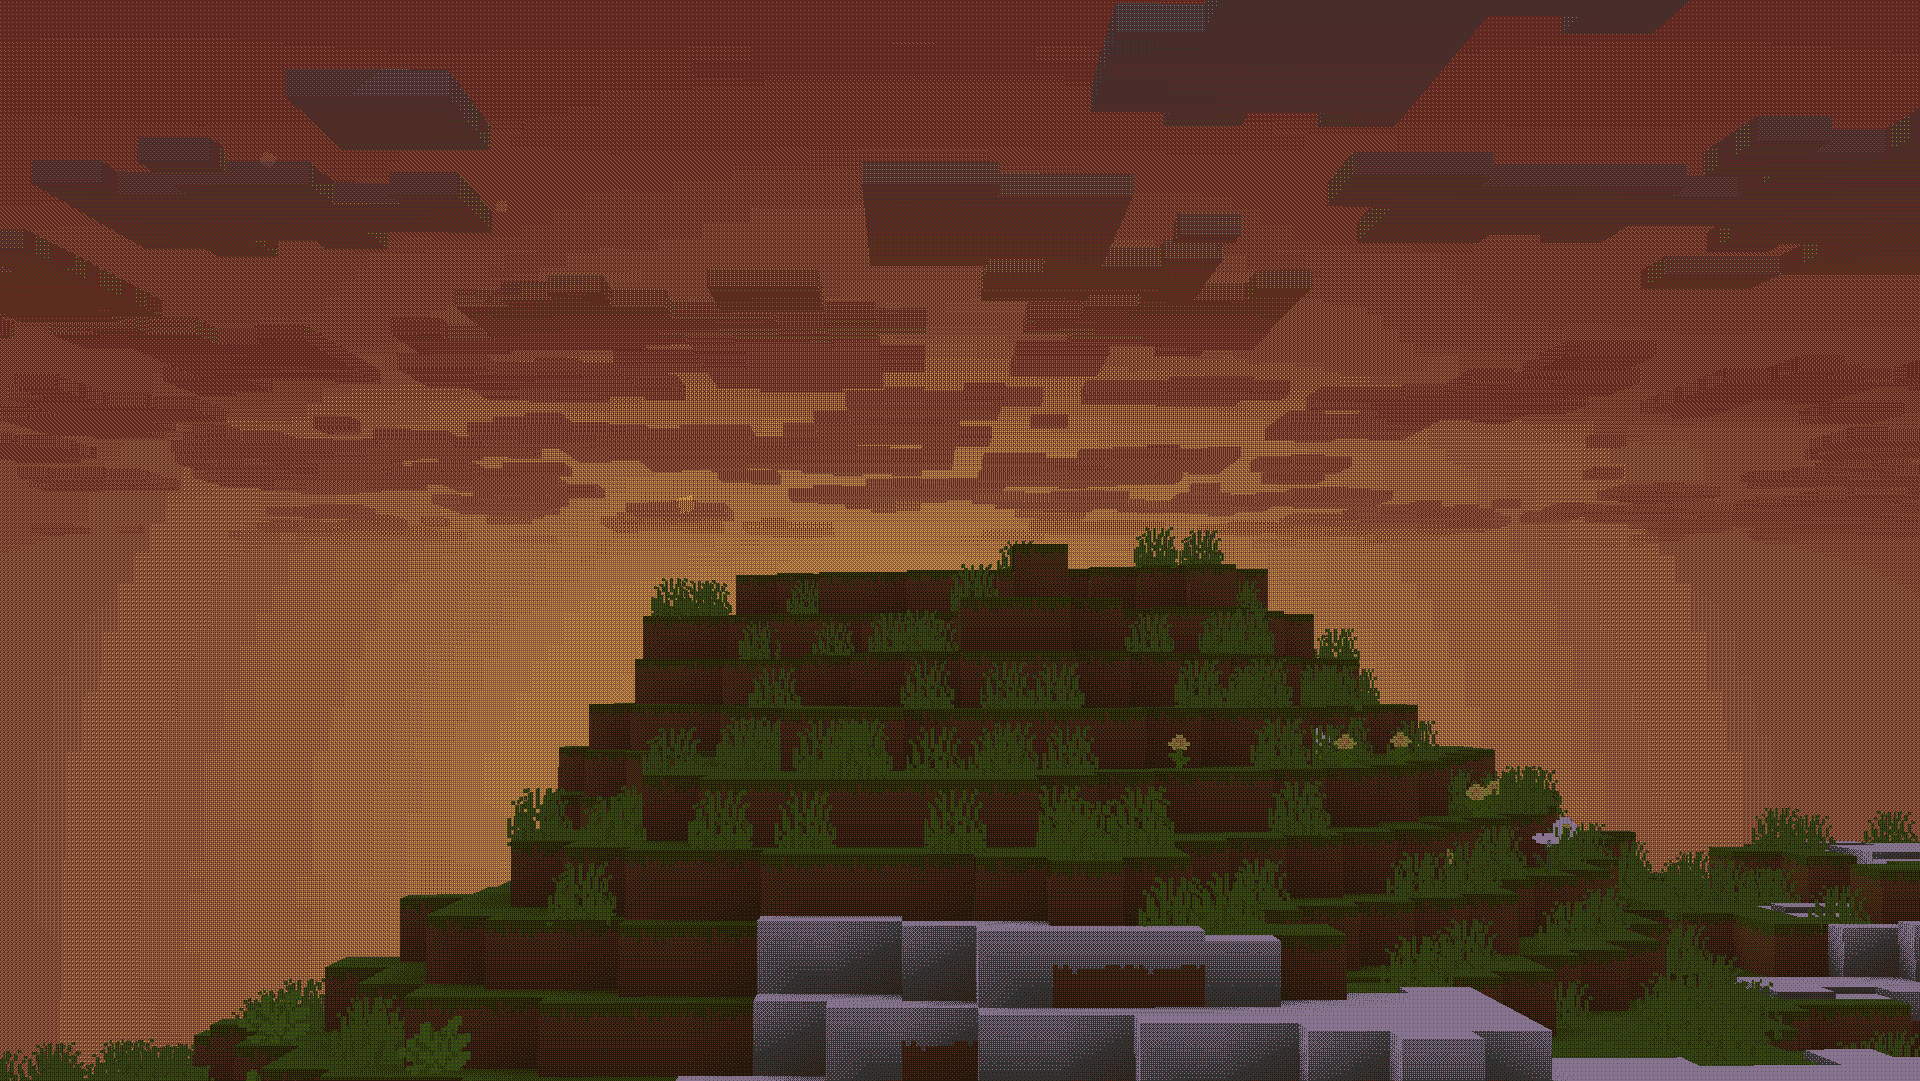
There are more images to show you what the pack looks like, all you need to do is go look at the gallery
Description
This is a texture pack that allows you to make Minecraft use whatever color palette you want. You can have up to 32 colors in a single palette, which may get expanded upon in a future update. You can use respackopts if you want an easier experience configuring the pack, but it's entirely possible (and quite simple) to do without it. You can find instructions on using the pack below, for both with respackopts and without.
This texture pack was inspired in part by Acerola's video about color. I recommend you give it a watch, because very near the beginning it shows both how this pack works in concept, and it's also very interesting. Note that this pack is not a LUT (Lookup Table) pack, and instead chooses the colors in real time using one of two color modes.
How to Use (No Respackopts)
- Install and apply the pack as normal. By default, it will be using the Starry color palette with Dither Mode 2, which you can see a preview of here
- In order to configure the pack, you must open the resourcepack. Once you are in, click on
assets,minecraft,textures,effect. This is where you will find all the palettes that are included by default, and also where you can add your own. Palettes should be sized anywhere from1x1to32x1, and you can find many premade palettes on Lospec. Just make sure you download thePNG Image (1x)version of whatever palette you want. - After importing your preferred palette, you need to apply it. For this, go back to the start of the texture pack. If you are on 1.21.2 or above, go into
(your version),assets,minecraft,post_effect, thentransparency.json. If you are on 1.21.1 or below, go into1_20_5-1_21_1,assets,minecraft,shaders,post, thentransparency.json. For both versions, you must then pressctrl+fon your keyboard and search upstarry. You will replace that with the name of your palette. Note that you cannot include spaces, so you should probably replace them with an underscore. You do not need to change the width of the texture, just leave it as is. - After changing the name, make sure to save the file. Then, head back into Minecraft and press
ctrl+fto reload your resources. You should see the game using your color palette. - If it doesn't look quite right, then open the texture pack back up again. This time, head to
assets,minecraft,shaders,include, thenconfig.glsl. Open the file, and you should see a list of options. Above each option will have text telling you how to configure it and what it does. If you're using a monochrome color palette (single colored), then make sure theCOLOR_MODEoption is set to0. If not, set it to1. If you're using a multi-colored color palette and you have it set to the right value, then try changing theOKLAB_COMPARISONSoption to0, or the other way around if it is already.
How to Use (Respackopts)
- This tutorial is for people who have the repackopts mod installed. If you are not using this, either follow the tutorial above or install it using the link.
- First, make sure you have the texture pack properly installed (you should see your game change to some pinkish colors)
- If you don't want to upload your own color palette and instead want to choose one of the defaults (some are shown in the gallery), click the top left of the respackopts settings screen where it says
Presets. Here, you can choose between some premade ones. - You can choose between a few different options. Hovering over them will tell you what they are used for.
- If at this point you would like to upload your own palette, you must first open the texture pack folder. Then, go to
assets,minecraft,textures, theneffect. In here, you should see many color palettes that are preinstalled. In order to upload your own, you must choose (or create) a color palette. A good website for choosing premade color palettes is called Lospec. - Make sure the palette you downloaded or created is between the size of
1x1and32x1pixels, otherwise your extra colors won't work. It must also be a png, not a jpg or any other image file format. Another thing to remember is the name must not include spaces or special characters, so make sure you remove any special characters and replace spaces with underscores. After making sure your palette follows all these rules, you can upload it. Make sure you remember what you named it. - After uploading your custom color palette, you must go back into the respackopts settings. There, you change the color palette that it's currently using to the name of your own file. If everything was done correctly, you should be able to see your color palette ingame! If it doesn't look quite right, try playing around with the settings until it looks good. If you have any trouble, you can refer to the troubleshooting section below.
Troubleshooting
- If you can't even find the pack in your pack list, it might be because you have recursive resources. If you have it, click "Folder View" in the bottom left and then search for it manually. It's called "Palette Switcher".
- If you changed a setting in respackopts and it doesn't show the change ingame, try reloading resources manually by clicking
F3+Ton your keyboard. You can also install a mod like Shader Reload (for versions 1.21.5 and below) or SUMR (for versions 1.21.6 and above), which will make it load a lot quicker by pressingF3+Rto reload it instead. - If this did not fix your issue, have a look at the support section below.
Support
Join My Discord
- Report bugs
- Create suggestions
- Vote on future packs
- Interact with the community
- Ask for help with texture packs
- This is the place to ask if you can use this pack in your own pack
Check out The Repository
- Report bugs
- Create suggestions
- Contribute by creating a pull request